Cooking With My Cat

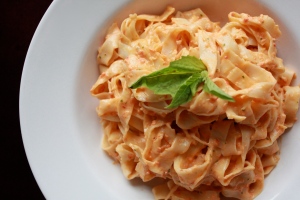
Roasted Red Pepper & Goat Cheese Alfredo with Homemade Linguine

Image

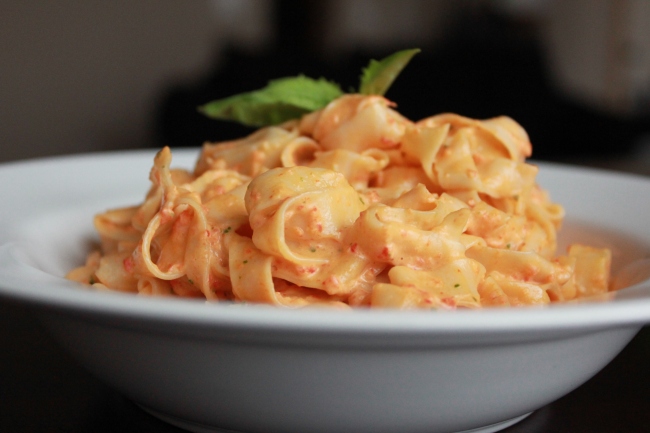
What a mouthful. When we refer to this at home, we just call it Red Pepper Alfredo.

I’m not sure how I first came across this recipe, but I’m glad I did. I have a recipe folder on my computer, in which belong about 17 different categories of different links to recipes I want to try. Any time I try one and like it, I immediately copy it into a notebook I keep in the kitchen, just in case of an emergency like the internet going out or me forgetting what the recipe was called or the website disappearing forever — which has actually happened to me with about three different recipes I loved. Luckily, I had the habit of writing things down before this ever happened, but it really reinforced the point to me that it’s important to save a physical copy of the things you love.

Anyway, the recipe for this Alfredo sauce is in one of those folders on my computer, as well as in the notebook in my kitchen. I make it a lot, because like all good, normal humans, I love goat cheese and I love pasta. And it doesn’t hurt that this has a way lower fat content than regular Alfredo sauces.

 IMG_1784

Sauce recipe adapted from here

Something you should note about this recipe: it yields a weird amount. The original recipe calls for 1/2 pound of pasta, but it’s saucy enough for more like 3/4 pound. However, doubled, it’s about the right amount for one pound. Like I said, it’s weird.

INGREDIENTS:
~3/4 lb pasta, store-bought or homemade* (linguine or fettucini are best, in my opinion)
4-5 oz goat cheese
1-2 cloves garlic, pressed or minced
2 T butter
1/2 c heavy cream
1/4 c grated parmesan
2 chopped roasted red peppers**
handful of basil
salt and pepper to taste

1. Cook pasta according to package directions. Drain and set aside.

2. In a large skillet, heat butter over medium heat. Add garlic and let cook until fragrant, about 1 minute.

3. Add goat cheese, parmesan, heavy cream, roasted red peppers, and salt and pepper to taste to skillet, heat until cheeses are melted, stirring frequently.

4. Transfer sauce to food processor or blender and add basil. Puree until smooth, or desired consistency is reached.

5. Toss cooked pasta and sauce together in the large skillet. Serve garnished with more parmesan, if desired (this is also really good with grilled chicken).

IMG_1780


*The recipe I use for homemade pasta comes from my momma, and it is:
1 t salt
2 T olive oil
2 c flour
3 eggs
I prefer my linguine on the thinner side, so I ran it through my pasta roller until it was at the #6 thickness before cutting with the linguine attachment.

**To roast red peppers in your oven (it’s insanely easy), preheat the oven to 450. Wash and quarter your peppers, seeding them removing the white from the insides as well. Place skin-side-up on a foil lined baking sheet. Switch oven from 450 degrees to broil (on high, if you have the option) and place peppers in the oven. Allow to roast for about 15-20 minutes, or until the skins very blackened (the blacker you allow them to get, the easier it is to peel them). Remove from oven and place in a sealed glass bowl or large ziploc bag for about 15-20 minutes, allowing them to cool and sweat. Once cool enough to touch, remove from their airtight container and remove their skin before cutting up.
Method also comes from here
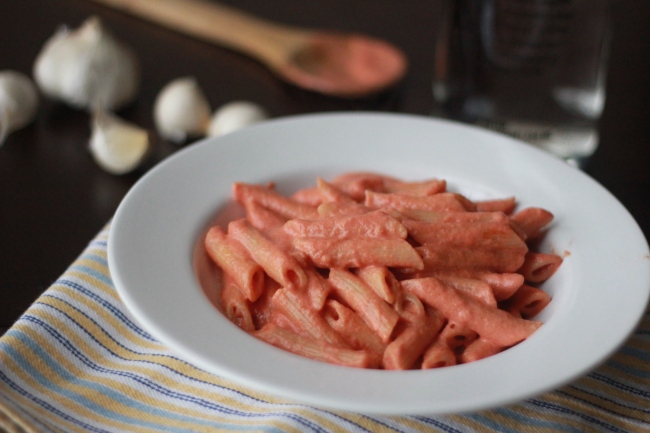
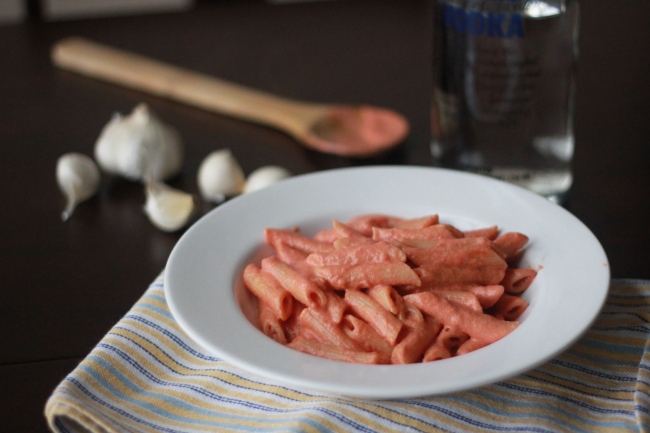
Penne with Creamy Vodka Sauce

Image

I discovered this recipe this summer, and I’ve probably made it at least every two weeks since. We LOVE this sauce. Previous to this, the only vodka sauce recipe I made was chunky, which is absolutely fine by me, but Phil is one of those picky types who doesn’t like to eat tomatoes while they still somewhat resemble tomatoes. I don’t get it.

The best thing about this recipe is that all the ingredients are things you probably already have on hand. If, for whatever reason, you don’t, it’s super easy stock your pantry with everything you need, and keep it that way. The only thing needed for this recipe I ever have to consciously remember to pick up at the store is tomato puree. I don’t even have to remember it anymore, I just pick up a can or two each time I go shopping and we’re good to go.

Most of the time, I actually make this without the vodka. I know chicken broth can be used as a substitute, but when you only need so little it seems pointless to open a can or pull some from the freezer. We decided we might actually like this better sans-vodka, so if I’m being honest, I guess what we make in our kitchen is Penne with Creamy Vodka-less Sauce. Whichever way you choose to make it, this is such a delicious pasta dish, and only costs pennies to make (especially the vodka-less way)!

Image

Recipe from here

INGREDIENTS:
1 lb penne (or other tubular pasta)
1 29oz can tomato puree
1/4 c olive oil
4 cloves garlic, pressed or diced
1/2 t crushed red pepper flakes
1 c heavy cream
2 T vodka (optional)

Recommended:
Mozzarella or parsley for garnish

1. Cook pasta according to package directions.

2. In a large skillet combine olive oil, garlic, and red pepper flakes over medium heat until garlic is fragrant and golden. Add tomato puree and simmer for about 15 minutes until mixture has thickened.

3. Drain pasta and add to sauce. Stir to combine. Add vodka and stir. Add cream and stir. Cover and allow to sit for about 5 minutes before serving. Garnish with parsley OR mozzarella. I’m sure fresh basil would also be fantastic, so someone should try that and let me know how it goes.

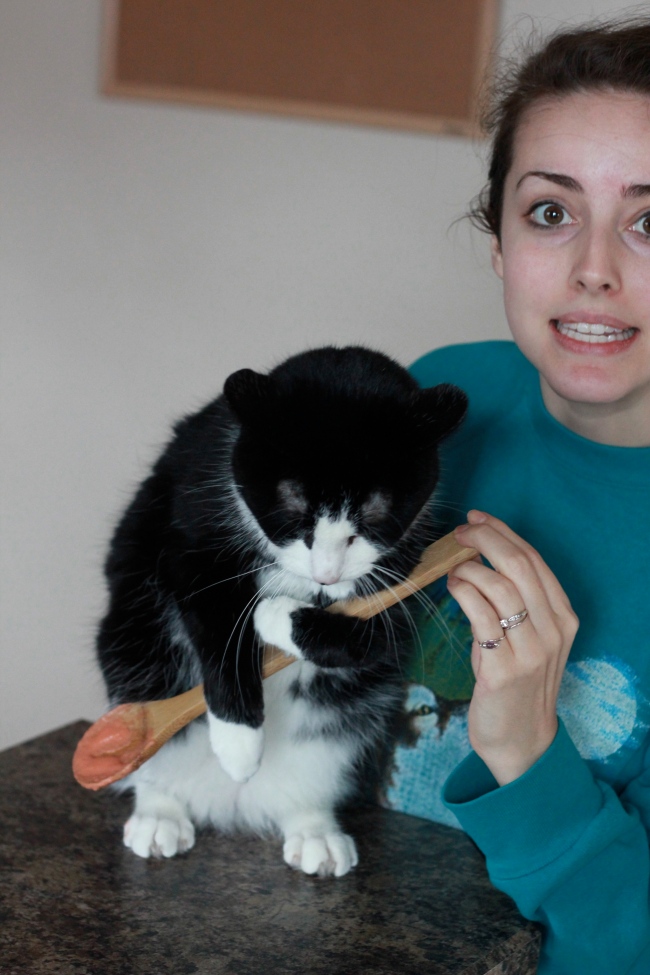
Bonus: me looking frazzled trying to get Kevin to pretend to cook by holding a spoon. It went really well.

Image

Huevos Rancheros

Image

Everyone else in the food blog world is having cookie week, why can’t I have Mexican week? Because of Christmas? I guess that makes sense. I promise this is my last Mexican dish for at least a week. I just have so much salsa in my fridge right now, I have to use it for something!

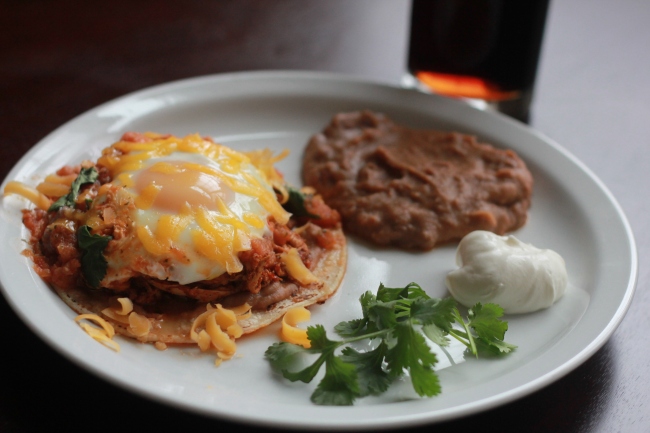
Huevos rancheros might be my favorite breakfast food. Actually, I think chicken fried steak is my favorite, but for the sake of not-really-Mexican-week, huevos rancheros wins. I’ve had some really great restaurant huevos rancheros, and I’ve had some really terrible — super dry and completely bland. I like to make it at home because I have complete control over everything, especially the (excessive) amount of sour cream it’s smothered in.

I recently came across a new way of making the eggs for huevos, and I’m only a little embarrassed I didn’t think of this on my own. It’s so simple and reduces the amount of dishes you have to wash afterwards. Genius.

Image

I do not condone the lack of sour cream on this plate. Less was used for fear of disgusting readers with my opinion of the “appropriate” amount.

Inspired by ohsodelicioso

INGREDIENTS:
4 corn tortillas
4 eggs
2 c salsa
recommended:
refried or black beans
chorizo, seasoned beef, or chicken (I used this)
cheese
sour cream

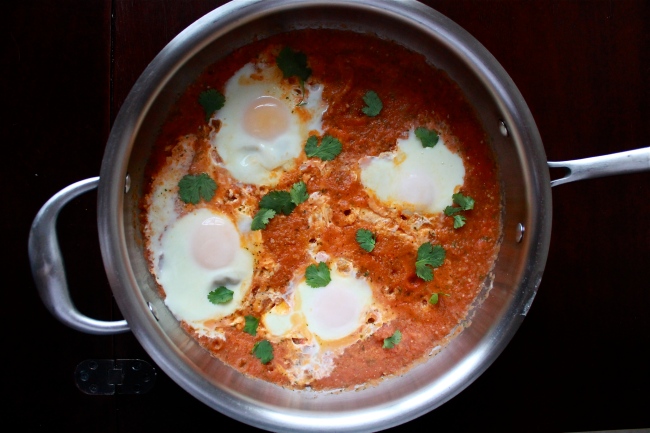
1. In a large skillet, heat salsa over medium heat until it’s just starting to bubble. Crack eggs directly into salsa and cover. Cook until eggs are done to your preference and yolks are covered in white.

2. Heat a small frying pan over medium heat. Once hot, toast tortillas one at a time for ~30 seconds on each side.

3. Spread beans on tortillas (optional), top with meat (optional), cover with salsa and eggs (not optional) and smother in cheese and sour cream (optional). It is also highly recommended that you enjoy this with a coke (let’s be honest, not optional).

4. Thank your cat for all of his “help.”
Image

Salsa Chicken

Image

Something you should know about me is how much I love Mexican food. Ask anyone who’s spent five minutes in a room with me — I dream about it. I covet it. When I was pregnant, I didn’t get any weird cravings, I just wanted enchiladas all the time, which is only slightly more often than I usually do.

The weird thing is that I’m not super picky about my Mexican food. I like it Americanized and I like it authentic. I definitely prefer quality Mexican, but I also don’t turn my nose up to Taco Bell. You may have just lost all respect for me as a lover of central American cuisine, but have you had their Fiesta Potatoes? Don’t answer that. I would take home cooked tacos over T-Bell any day of the week, I just don’t say no if the opportunity presents itself.

Until somewhat recently, I only ever cooked beef for tacos. It was what I was accustomed to and I never really thought about making anything else. Then I found this chicken and OH MAN, I might love it more than beef. And I found this really delish looking pork recipe that I’m dying to try (coming soon, I’m sure).

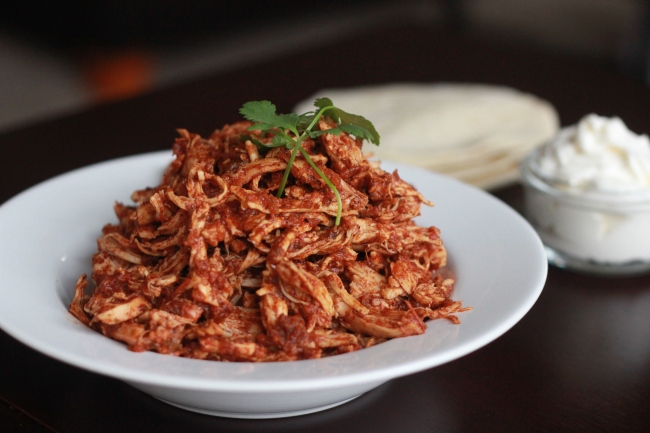
This salsa chicken is super easy to make. It can be used for your basic tacos, or you can make some awesome quesadillas with it. Mexican soups? You bet. Nachos? Duh, yum. The best part? You get to ignore it for half the time it’s cooking, which is how I believe most things should be made. You can use all store-bought ingredients if you want, or you can make everything yourself. All it really takes is some chicken, salsa, garlic, and a few spices.

Image

INGREDIENTS:
2 chicken breasts
1/2 c salsa (homemade or store-bought)
1/4 c water*
2 cloves garlic, pressed or finely chopped
1 packet taco seasoning + 1 t chili powder
OR make your own seasoning (please note that the following is the recipe for seasoning. If you’re using a packet, do not also use the following):
1 T + 1 t chili powder
1/4 t garlic powder
1/4 t onion powder
1/4 t crushed red pepper flakes
1/2 t paprika
1 1/2 t cumin
1/4 t cayenne (optional)
1 t salt
1 t pepper

*you may need to add extra water if the salsa you use is on the dryer side.

1. In a large skillet, mix salsa and water. Feel free to be a little generous with the salsa. Add chicken breasts and cook over medium heat until salsa starts to boil.

2. Add taco seasoning and garlic. Stir everything up until well combined and flip the chicken breasts over. Cover, reduce heat, and allow to simmer for 15 minutes.

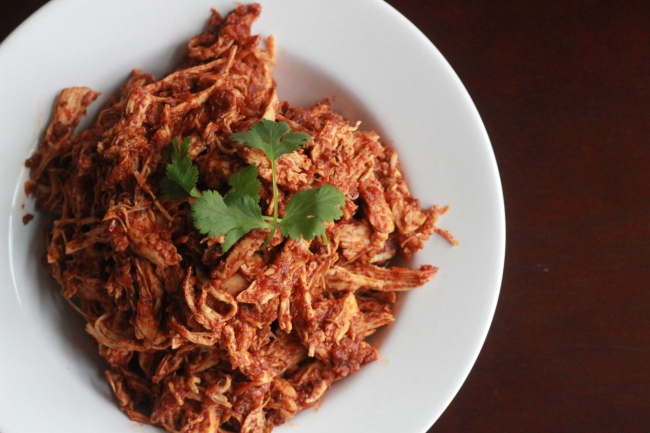
3. Using two forks, shred the chicken and stir around to incorporate the salsa mixture. Serve with tacos, burritos, quesadillas, ice cream (I won’t judge you), and ENJOY!

Again Kevin (the cat) is absent. He’ll return soon, I promise.

Salsa!

Image

Supposedly the coldest place on the planet yesterday was Bozeman, Montana. I find this hard to believe because of, you know, Antarctica and Siberia and stuff. Not to mention I grew up in the midwest, and when I moved to Bozeman it was comparable to moving to the tropics — the winters are so much milder.

I recently moved from Bozeman to Missoula, which has even more mild of a winter season, so I’m glad to say it was a balmy 2 degrees here while Bozeman suffered through -3053643 or whatever.

I’m not a fan of winter at all. I think snow is pretty and believe it should be on the ground from about a week before Christmas through New Year’s, and then should go away all together until December 18th of the next year. So when it starts to get really cold like this, all I want is heat. Like, I’m sitting in front of the fireplace snacking on chips and this salsa as I type this. No joke.

Image

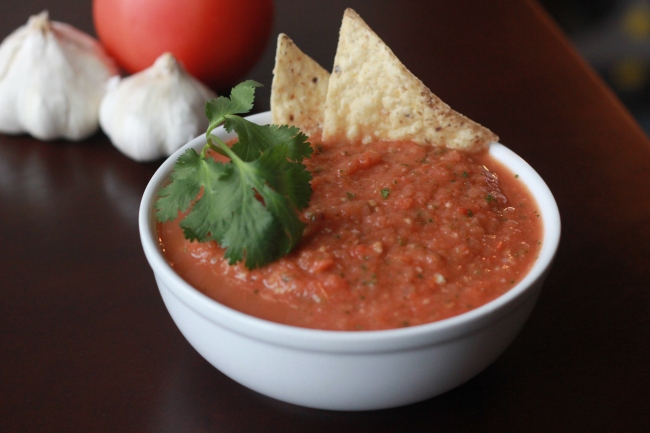
I’ve grown to despise store bought salsas. It might just be a Montana thing, but the only salsas you can find in stores here are either generic or the cheap-y brands that have no depth of flavor whatsoever. There was a great, locally made salsa in Bozeman that we finally found again in Missoula, but I found I can make 10x as much for the same price doing it at home, and I don’t think I’ll ever go back. This salsa is so fresh! It’s slightly sweet, salty, spicy, and tangy. SO GOOD.

Kevin was too busy licking the condensation off the iced over windows to help with this one, but that’s probably for the best. He’d be licking the windows even more furiously had he tried any, anyways.

You should note that most of this can be done in a relative manner. If you don’t like garlic, use less. If you love cilantro, use more. If you’re a spice wimp (boo!), use way fewer peppers. I don’t think this is overly spicy, but I love my salsa hot, so this may be too much for some people. I think it’s just right. I could definitely eat it hotter, but the way it is is enjoyable, and that’s what’s important, right?

Image

Adapted from a recipe I found long, long ago. I didn’t save the site, but I also changed quite a bit, so I don’t feel too bad about it.

Makes 2.5 quarts

INGREDIENTS:
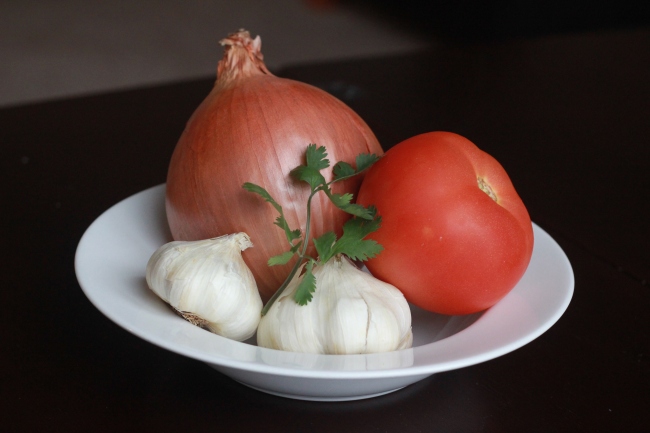
2 1/4 lbs roma tomatoes
2 medium yellow onions
16 cloves garlic
15 serrano peppers
~1 c un-chopped cilantro leaves, more or less to taste
olive oil
salt

1. Preheat oven to 375.

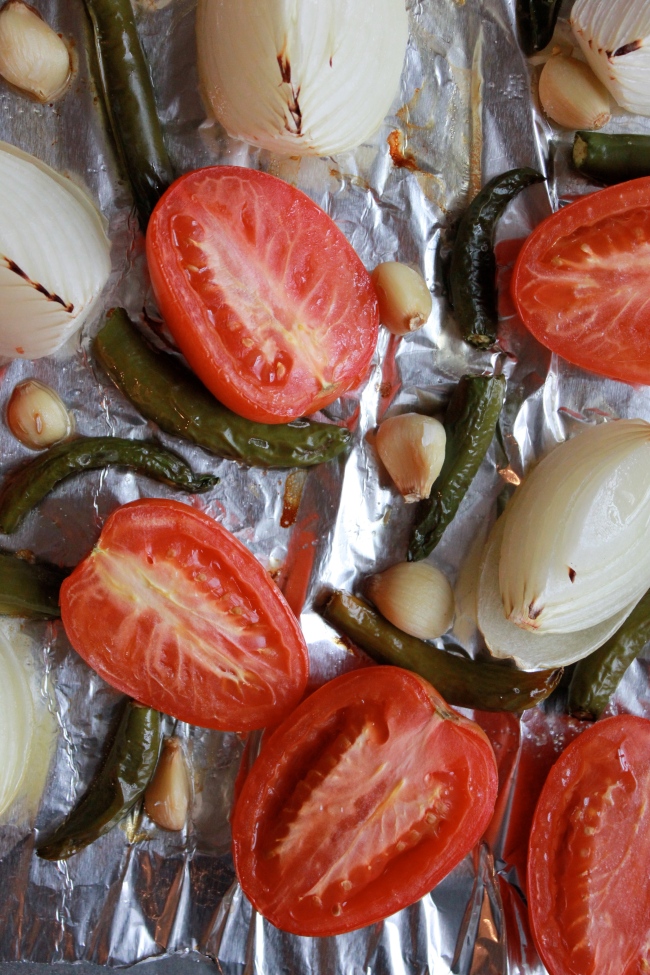
2. Halve the tomatoes and onions. Cut the tops off of the peppers, and peel 10 of the garlic cloves. Line a baking sheet (you’ll probably need two) with foil, and peppers, garlic, tomatoes and onions cut-side-up on the baking sheet. Drizzle with olive oil and season with salt. Roast in the oven until tomatoes are oozing juices and onions are becoming translucent, 25-35 minutes*. Your peppers should char some, too. If they don’t (mine didn’t), they’ll still taste fantastic.

3. Remove from oven and allow to cool for a bit. Peel remaining garlic cloves. Combine roasted ingredients, raw garlic**, cilantro, and salt to taste in batches in a food processor or blender. Mix all batches together in a large bowl and season accordingly.

*I couldn’t fit both of my baking sheets on the same rack and had to rotate them throughout the roasting process. If you can fit everything onto one sheet or one rack, it may take less time.

**Raw garlic has a much stronger flavor than roasted garlic. You may want to use less raw garlic or none at all if you aren’t partial to a garlicky flavor.

Thai Chicken

Image

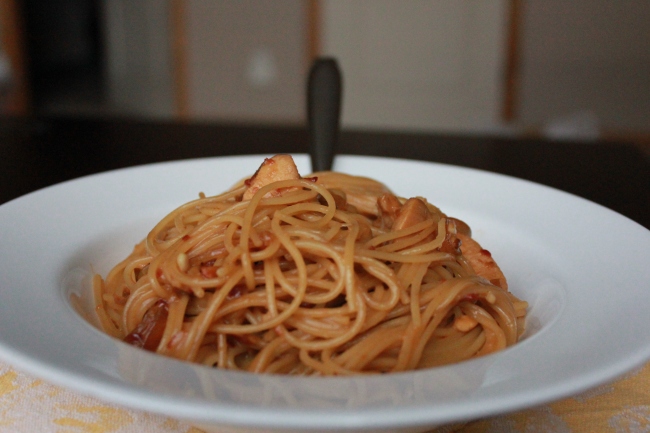
Generally when people tell you not to judge a book by its cover, they aren’t talking about a literal book. I always judge a book by its cover, and I am talking about literal books. Or, in this particular case, I judged a cookbook based on the pictures it contained.

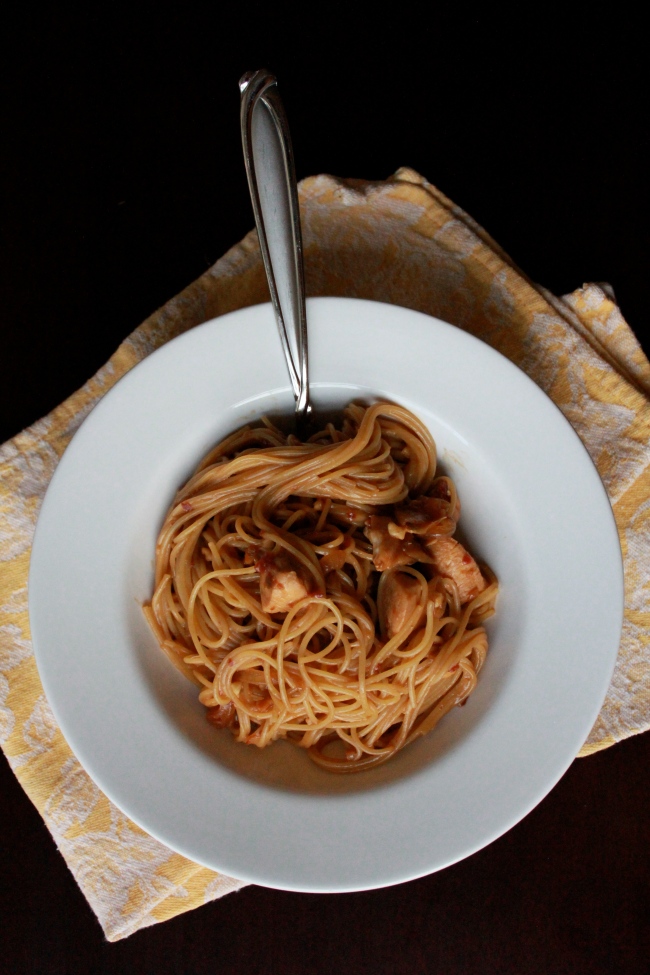
I read somewhere once that the best cookbooks contain no pictures. I’m probably not the best person to argue against this since I don’t tend to use picture-less cookbooks, but the pictures are most of the appeal to me. If something looks good, I want to make it. I saw this recipe in a cookbook, and I wanted it in my belly, so I bought the book. I think it was a good investment, because it’s been three years since the purchase of said cookbook, and we make this dish all the time in our house. It makes a lot, but it’s also fantastic reheated, so we like to make it when we know we’ll need a quick meal on hand during the week.

Image

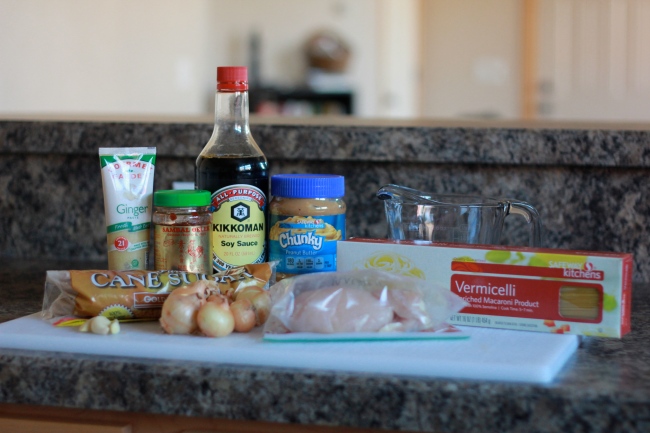
The ingredients

On a similar note, I encourage you to not judge this recipe based on the title of the book it came from. I was 19 and broke, looking for cheap and easy recipes. This one is a total gem.

Image

The sous chef

Kevin didn’t so much help me cook this as get in my way as I tried to navigate the kitchen, but I suppose that falls under the umbrella of duties of a cat sous chef.

Recipe serves 6-8
Adapted
 from College Cooking
INGREDIENTS:
~1 lb chicken breasts – Or you can eyeball it. I usually use two medium-ish breasts.
1 lb angel hair or vermicelli pasta
1/2 onion, sliced into 1/4″ pieces – I was out of regular onions and used a handful of pearl onions instead.
2 T chili paste
2 T olive oil
1 t ground ginger – I use ginger paste in place of fresh grated ginger.
5-6 cloves garlic, pressed or finely chopped
1 T brown sugar
1/2 c soy sauce
1/2 c water
1/2-3/4 c chunky peanut butter

Optional (but recommended): green onions for garnish

1. In a bowl, mix together soy sauce, ginger, and chili paste. Cut chicken into bite sized pieces and add to bowl. Place in fridge to marinate for 30 minutes.

2. Cook pasta according to directions. Drain and set aside.

3.  In a large skillet, heat the olive oil over medium heat. Add brown sugar, and stir around until sugar melts. Add onions and stir until onions are caramelized and soft, about 7 minutes. Take chicken out of marinade and add to the skillet, but don’t discard the marinade. Stir occasionally until chicken has cooked, about 5 minutes.

4. Add marinade and water to skillet. Simmer and stir for about 5 minutes. Stir in peanut butter until it has melted and is fully incorporated. Remove from heat. Add pasta to skillet and toss until it is well coated and everything is evenly distributed. Garnish with green onions if desired (I forgot to pick them up before making this, but I recommend them as they are delish), and enjoy!

Image